 WalletKit 설치 및 초기설정 (React Native, Reown)How to Install and Set Up Reown walletKit in React Native
📅
들어가기 전에 🔗
React Native(Expo) 앱에서 Reown walletKit 을 연결하고 사용하는 방법을 알아보도록 하겠습니다. Reown walletKit은 사용자가 쉽게 디지털 지갑 기능(예: 지갑 연결, 거래 내역 확인, 인증 등)을 앱에 구현할 수 있도록 도와주는 라이브러리입니다. WalletConnect 연결에 앞서, React Native에서 블록체인 지갑을 생성하기 위한 포스팅을 참고해주세요.
Reown walletKit이란? 🔗
Reown은 온체인을 구축하는 모든 사람이 더 나은 UX를 활용하고 잠금 해제할 수 있도록 앱키트와 월렛키트 툴킷을 제공하는 UX 중심 회사입니다. (출처: Reown 공식 홈페이지↗)
Reown이 지원하는 SDK는 크게 두 가지로 나눌 수 있습니다.
AppKit
은 로그인(이메일 및 소셜), 가스비 후원, 멀티체인 지원, 온램프, 스왑, 사용자 인사이트, 600개 이상의 지갑에 대한 액세스 등의 기능을 제공하는 원활한 온체인 UX를 만들기 위한 포괄적인 SDK입니다.
WalletKit
은 블록체인 전반에서 원활한 지갑 연결을 위한 오픈소스 SDK입니다. 원클릭 인증, 안전한 거래 서명, 피싱 방지, 일괄 거래 및 페이마스터와 같은 고급 온체인 구성 기능을 제공합니다.
간단히 설명해서, AppKit은 Dapp을 만들기 위한 SDK이고, WalletKit은 지갑을 연결하기 위한 SDK입니다. 우리는 이번 포스팅에서 WalletKit
을 사용하여 React Native 앱에 디지털 지갑 기능을 추가하는 방법을 알아보겠습니다.설치 및 초기 설정 🔗
1. Reown walletKit 패키지 설치 🔗
터미널을 열고 아래 명령어를 입력하세요.
(프로젝트가 이미 생성되었다고 가정합니다.)
npm install @reown/walletkit @walletconnect/react-native-compat
npm install @react-native-async-storage/async-storage @react-native-community/netinfo react-native-get-random-values fast-text-encoding
npm install @walletconnect/jsonrpc-types --dev
yarn add @reown/walletkit @walletconnect/react-native-compat
yarn add @react-native-async-storage/async-storage @react-native-community/netinfo react-native-get-random-values fast-text-encoding
yarn add @walletconnect/jsonrpc-types --devExpo 프로젝트
를 사용하는 경우, 다음 명령어를 추가로 입력해주세요.npx expo install expo-application2. reown 프로젝트 생성 🔗
reown을 실행하기 위해 project_id가 필요합니다. 이를 위해 reown 프로젝트를 생성합니다.
reown 로그인↗
안내에 따라 프로젝트 생성 후 Dashboard에서 프로젝트 ID를 확인합니다.

reown project id
이러면 연동 설정이 완료되었습니다. 이제 앱 안에서 WalletKit을 연동하는 코드를 작성해보겠습니다.
WalletKit 초기화 및 설정 🔗
🖐️
모든 @reown/* 종속성보다 @walletconnect/react-native-compat을 먼저 임포트해야 합니다.import '@walletconnect/react-native-compat'
// Other imports...1. WalletKit 초기화 🔗
먼저, 빈 화면을 만든 후
WalletKit.init을 사용하여 WalletKit을 초기화합니다. core 속성에는 Reown에서 제공하는 Core 객체를 전달하고, metadata 속성에는 지갑의 이름, 설명, 아이콘, 리다이렉트 URL 등을 설정합니다. WalletKit.init 메소드는 Promise를 반환하므로, 초기화가 완료되면 반환된 WalletKit 객체를 사용할 수 있습니다. 여기서는 useState를 사용하여 WalletKit 객체를 상태로 관리하도록 하겠습니다.
Core의 projectId는 reown 프로젝트 생성에서 생성한 프로젝트 ID를 사용해주시면 됩니다.import '@walletconnect/react-native-compat';
import { WalletKit } from '@reown/walletkit';
import { WalletKit as WalletKitType } from '@reown/walletkit/dist/types/client';
import { Core } from '@walletconnect/core';
import { useEffect, useState } from 'react';
import { Text } from 'react-native';
import { SafeAreaView } from 'react-native-safe-area-context';
const core = new Core({
projectId: 'your_project_id', // reown 프로젝트 ID
});
const App = () => {
const [walletKit, setWalletKit] = useState<WalletKitType>();
useEffect(() => {
WalletKit.init({
core,
metadata: { // 지갑 메타데이터 (본인 상황에 맞게 수정)
name: 'Demo React Native Wallet Promlee',
description: 'Demo RN Wallet to interface with Dapps',
url: 'www.promleeblog.com',
icons: ['https://your_wallet_icon.png'],
redirect: {
native: 'promleewallet://',
},
},
}).then((kit) => {
setWalletKit(kit);
});
}, []);
return (
<SafeAreaView style={{ padding: 20 }}>
<Text>{walletKit?.metadata.name}</Text>
</SafeAreaView>
);
};
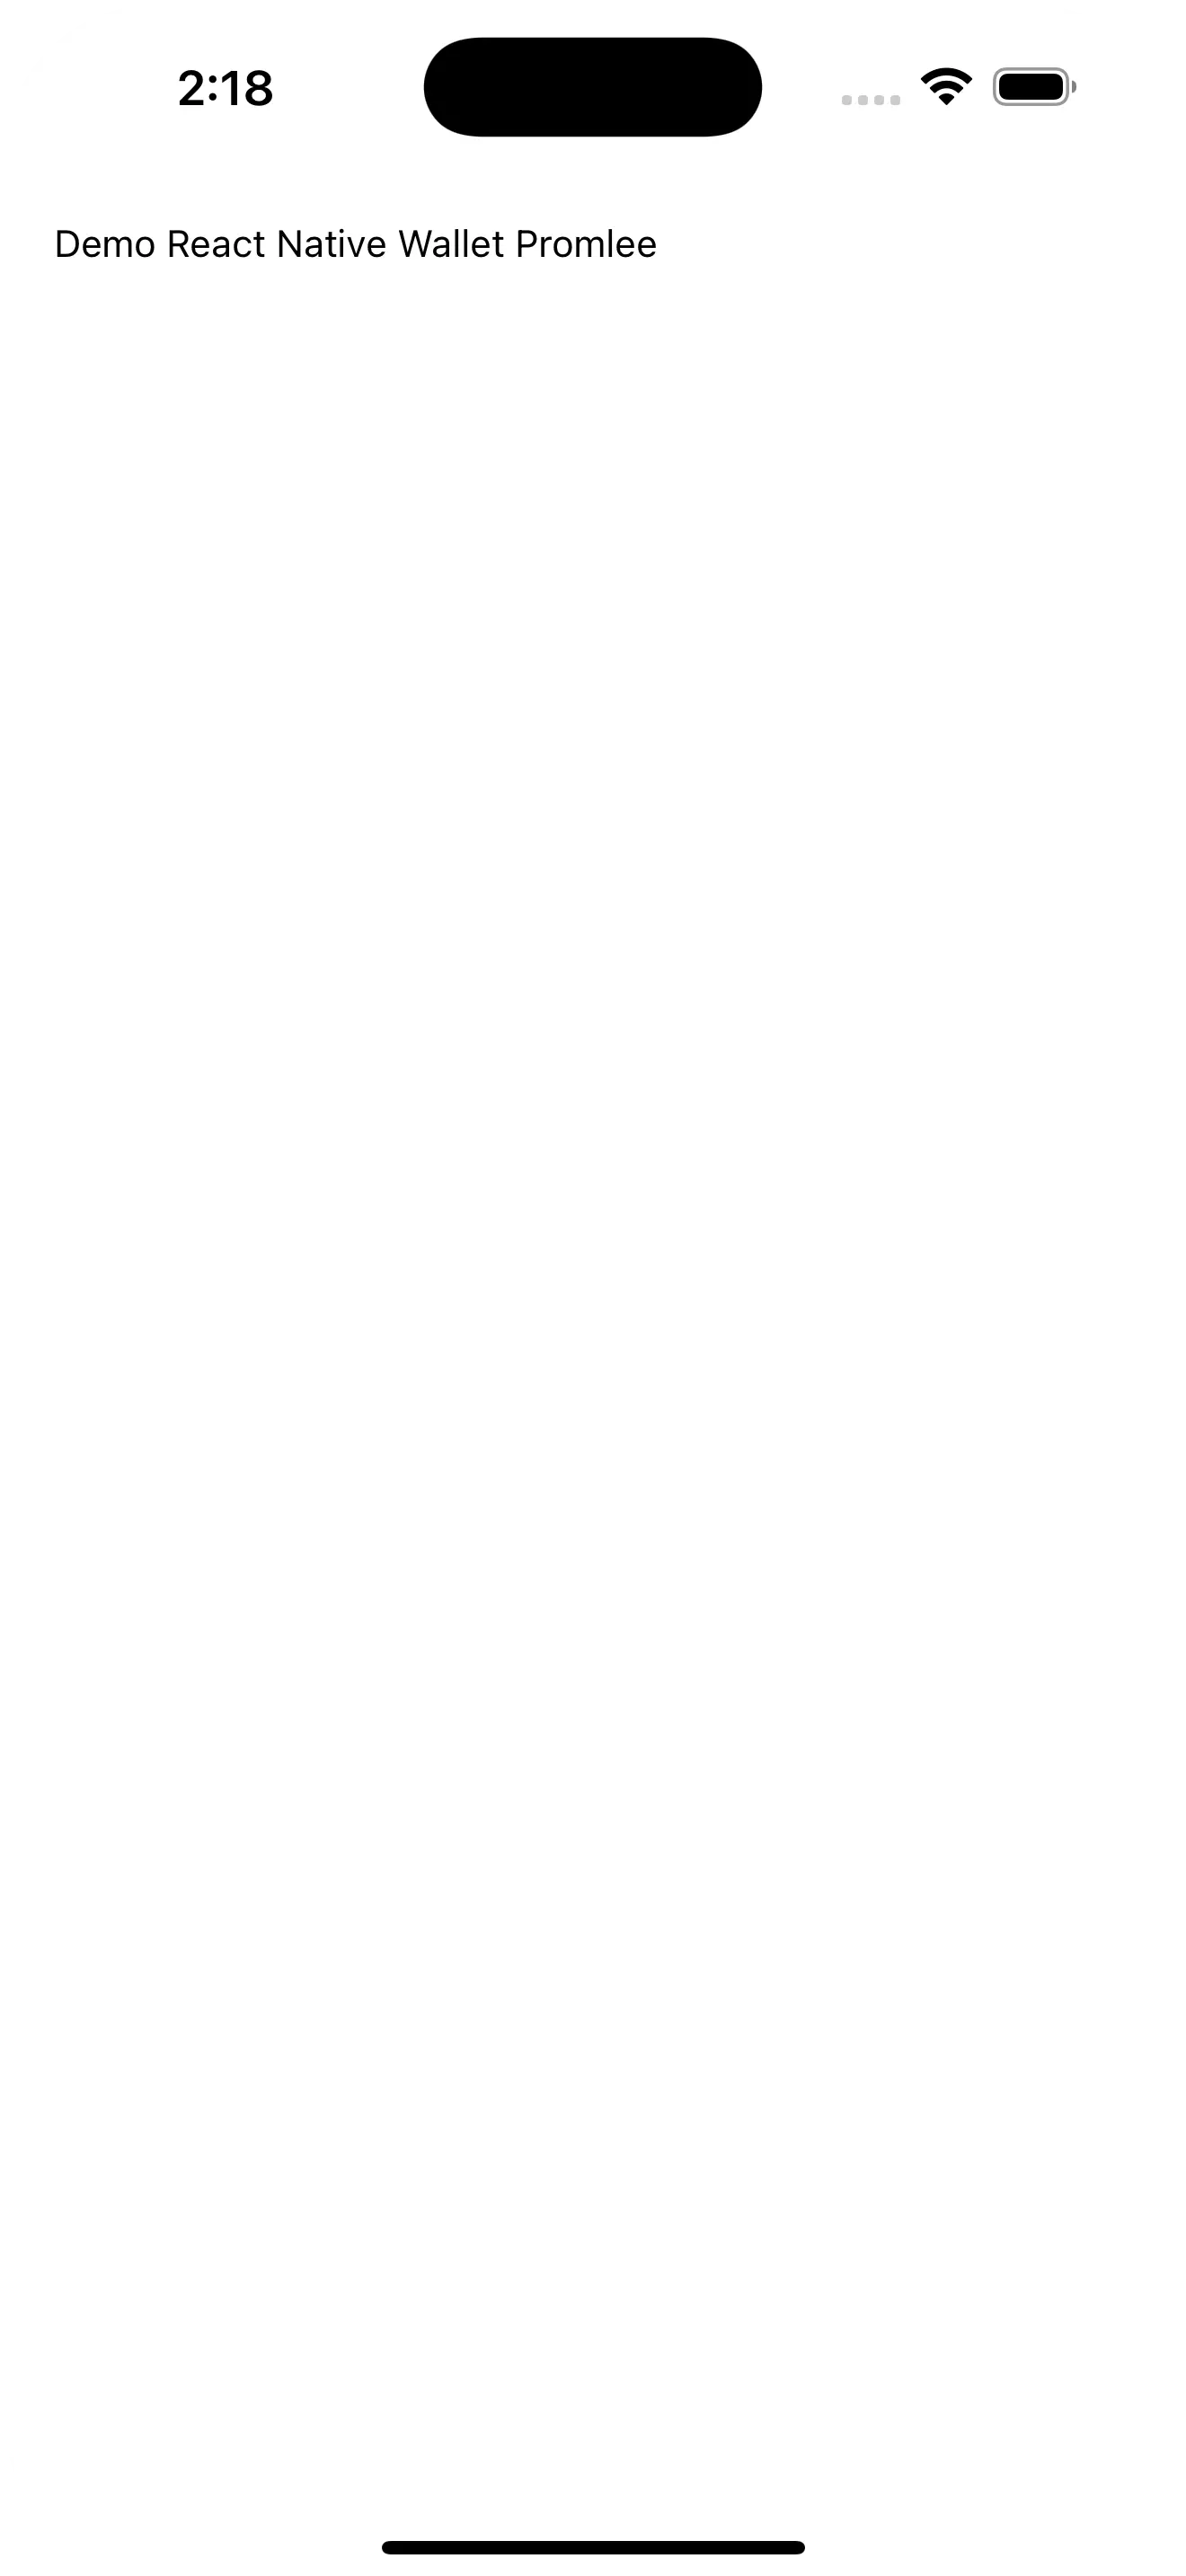
export default App;WalletKit 초기화 후 간단하게 메타데이터를 Text로 출력하는 예제입니다. 이제 앱을 실행하면 지갑 이름이 화면에 출력됩니다.
결론 🔗
이번 포스팅에서는 React Native(Expo) 앱에서 Reown walletKit을 연결하고 사용하는 방법을 알아보았습니다. Reown walletKit을 사용하면 사용자가 쉽게 디지털 지갑 기능을 앱에 구현할 수 있습니다. 이를 통해 사용자 경험을 향상시키고, 블록체인 기반 서비스를 더욱 쉽게 이용할 수 있습니다.