Before looking at development builds, let's review the Expo Go app you may already be using.
If you created your first React Native project with npx create-expo-app and ran it with npx expo start, you probably used Expo Go. The Expo team publishes this native app on Google Play and the Apple App Store so you can start coding quickly. It is a
sandbox app
with a predefined set of native libraries. You can edit your JavaScript locally and see the changes in Expo Go. (Source: Official Expo documentation↗)
Expo Go is a prebuilt shell that lets you see the results of JavaScript changes quickly. Its native code is fixed, so certain libraries or features such as push notifications may not work in Expo Go. Expo provides a way to customize the native code, and a development build makes that workflow easier.
Expo Go comes with a developer menu that you can open by pressing m in the terminal running Expo. The expo-dev-client package gives your development build a developer menu too.
EAS stands for Expo Application Services, a cloud service from Expo. It provides tools to build Android and iOS apps and manage build, update, and submission workflows. It is useful if you plan to publish to app stores or collaborate with a team. The cloud service runs outside your local machine and has usage limits.
Before you begin, install the EAS CLI and sign in with the commands below.
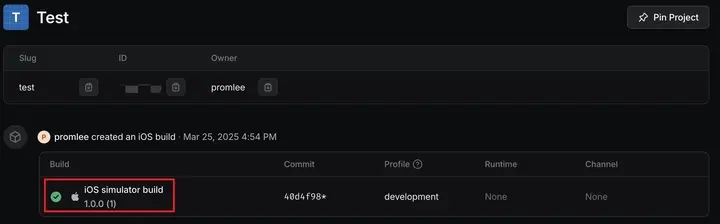
After the build finishes, the app is installed on the simulator. You now have a development environment where you can modify native code and run your own app independently of Expo Go. Run npm start, then press s to open the development build and continue developing.
The platform folders for your build (ios and android) should now exist in the project root. You can edit the native code in those folders and try changes that Expo Go could not run.
 Setting Up an Expo Development Build